You can see the first shoot I did with him here: http://emilymacdonaldphotography.blogspot.com/2011/05/meet-oliver.html
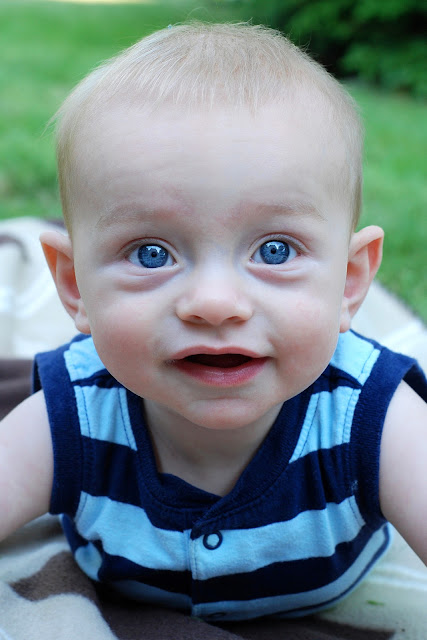
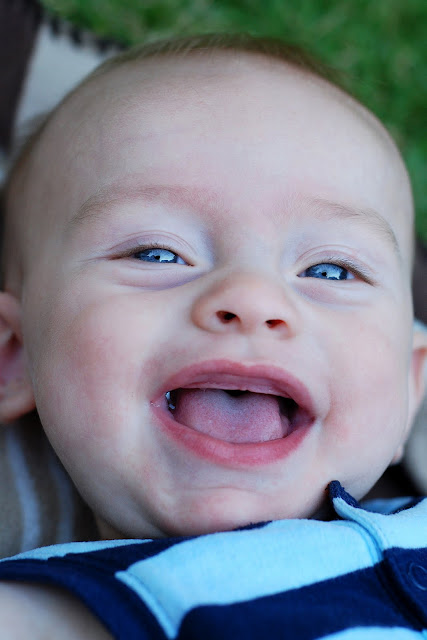
These three are the shots I like best. Isn't he handsome?
This last shot I thought I would use as an example of the type of editing I do. I used Photoshop CS3. (I really want CS5!!) Here is the original image:
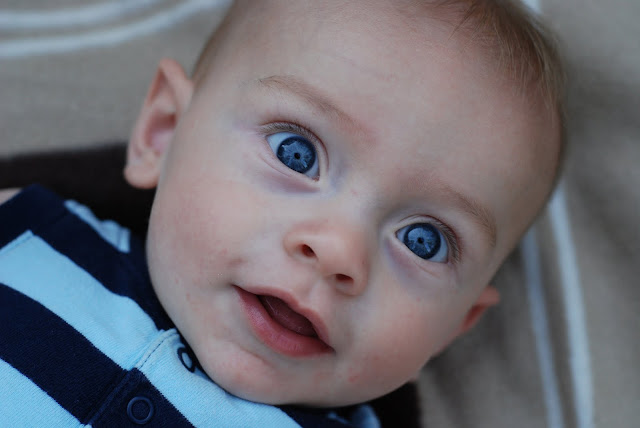
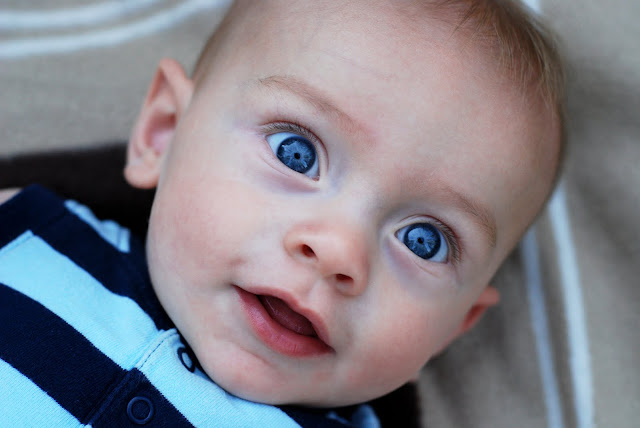
In my first round of editing I brightened the image, added some contrast, bumped up the saturation a tad (it's a bit cool in the original), removed some bumps on his face and then did some dodging and burning on his eyes to make them pop. See below:
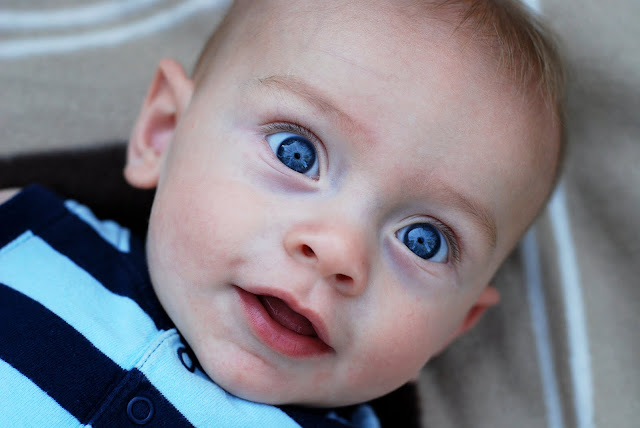
For the last round of editing I worked on evening out his skin. I went over his skin in more detail with the spot healing brush to make sure I didn't miss any imperfections. Next I created a new layer, painted over the areas I wanted to smooth out (under his eyes and on his chin) with a sample of his correct skin colour, then lowered the opacity so that it was very subtle. Some people like to do this technique over the entire face, but find it looks a little too "Photoshopped". I like a more natural looking photo, so I will usually only do it in areas where it's really needed or, in most cases, not at all. See below for final edit:
I can go into more details on the techniques I use if enough people are interested, just let me know:)
And, don't forget to become a follower!!


1 comment:
Wow, so impressive- all the photoshop stuff one can do. I can't even figure out how to put a picture into photoshop and then play with it.
Post a Comment